This time around I’m going to show a few tutorials regarding some of the Linux Distro installation process. For today’s tutorial, I’ll be showing on how to install Linux CentOS. Note, I’ll be using the text version of the installation. For those that wanted to use the GUI, the flow is pretty much the same 😉
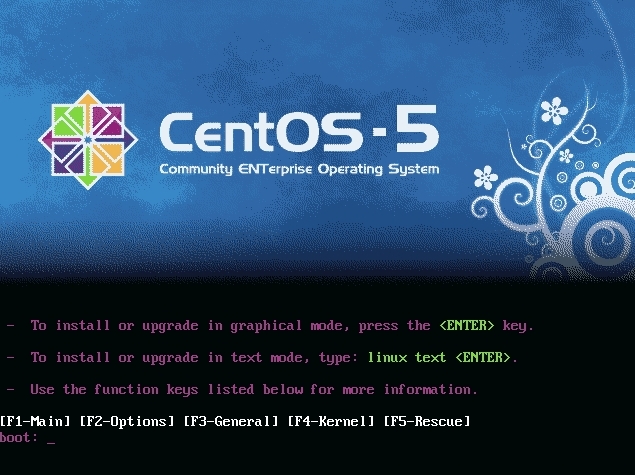
1) Insert the installation CD and let it boot. From the menu, either press Enter (for GUI) or type “linux text” for the command line version (which i’ll be using):
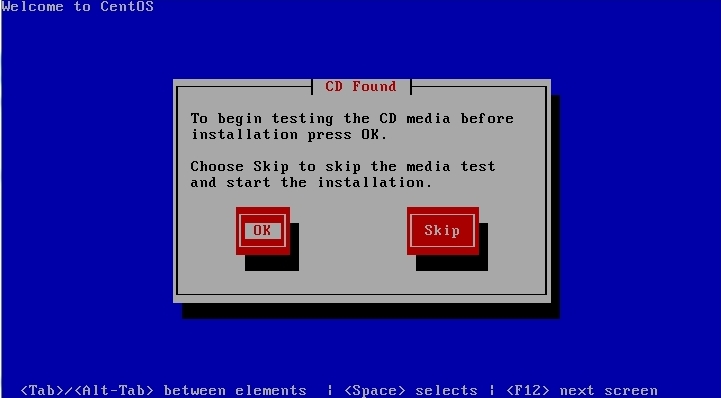
2) A message will pop-up asking whether you want to test the CD or not. For me it might be time consuming, so Skip it
3) A welcome message will appear
4) Select the language

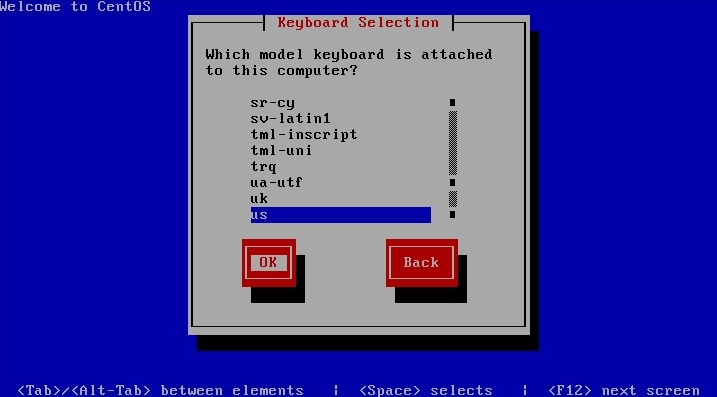
5) Select your keyboard layout
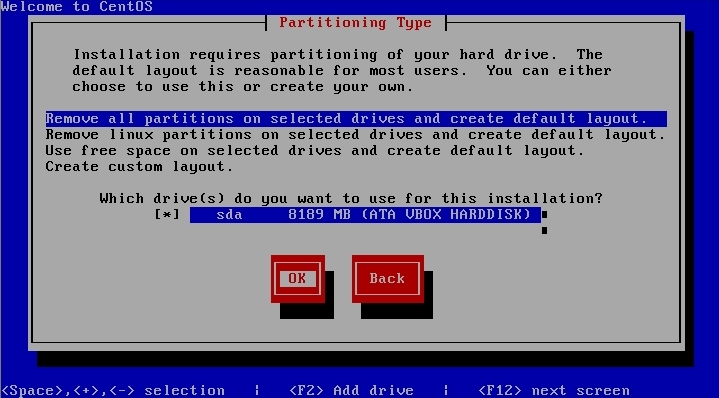
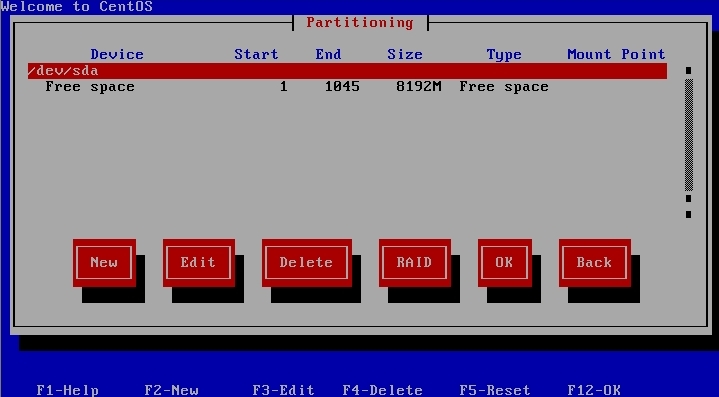
6) The next screen the centos will list out all available hard disk connected to the server. You may choose which hdd you want to include or not. At the top option, I just choose the first option to wipe out everything in the hdd partition and create a default layout
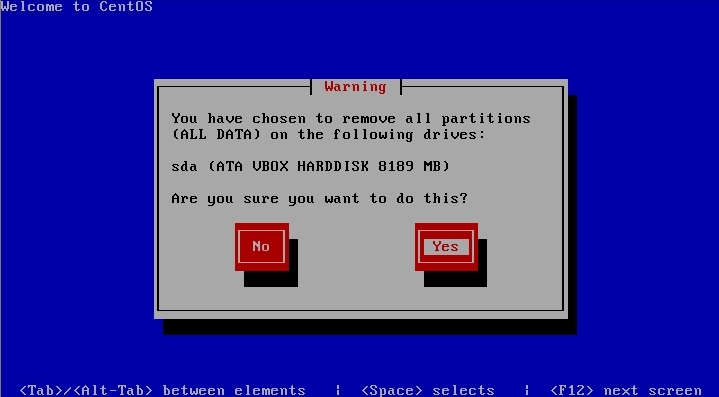
7) The system will ask you again whether you want to proceed with the partitioning
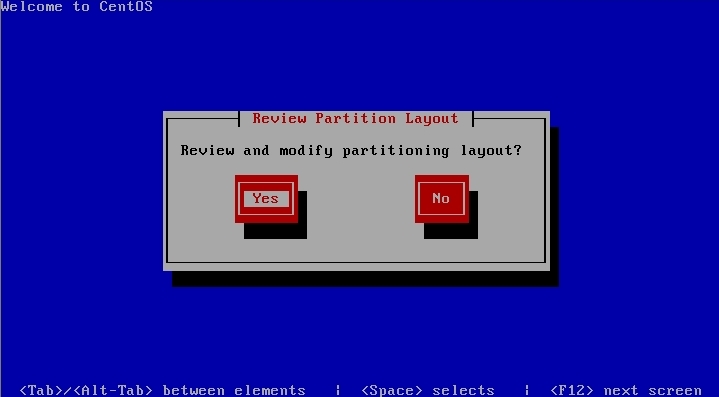
8 ) Press Yes to review back the partitioning that have been made
9) By default, the centos will setup the LVM for the hard disk. It is depends on you whether you prefer the LVM or the manual
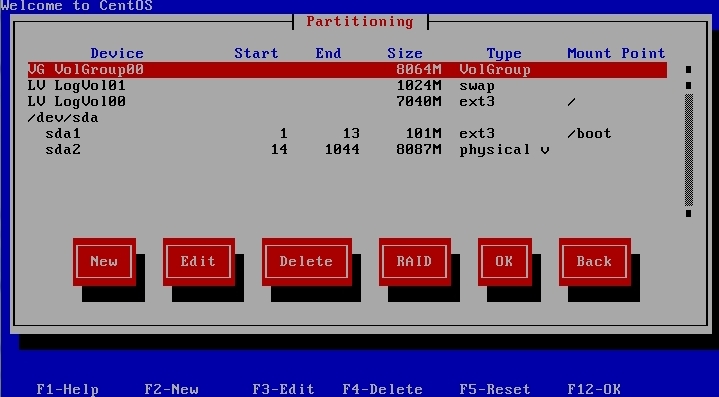
10) But for this tutorial, I’ll be using the manual partitioning. So I’ll be deleting all the partition first
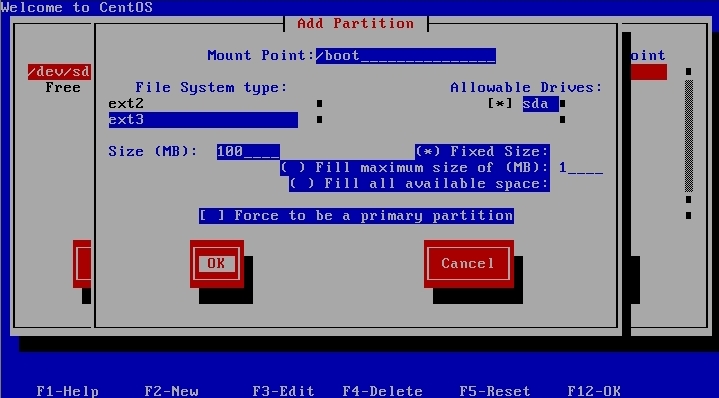
11) Press New (F2) and type “/boot” on the Mount Point and assign a 100MB for the size and click Ok
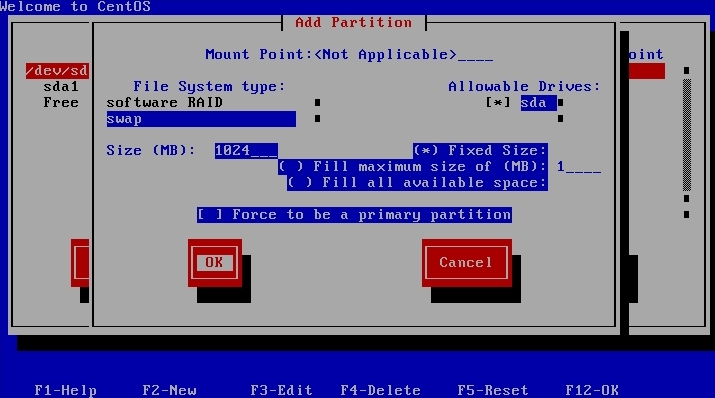
12) Next, press F2 again and this time immediately go to File System Type and select Swap. As for the size, the size must be two times (2x) than your hardware memory. Eg, if your RAM is 1gb, then your swap must be 2gb. But remember, type it in 64bit conversion which is 1gb= 1024mb
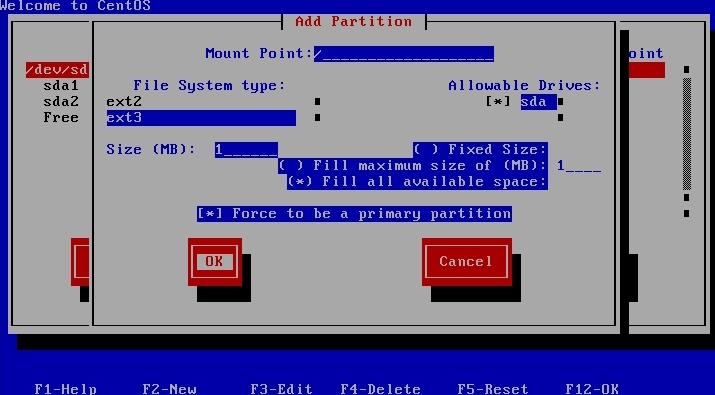
13) Press again F2 for the last time, this time type “/” on the Mount Point. Then, check the Fill All Available Space and Force To Be A Primary Partition
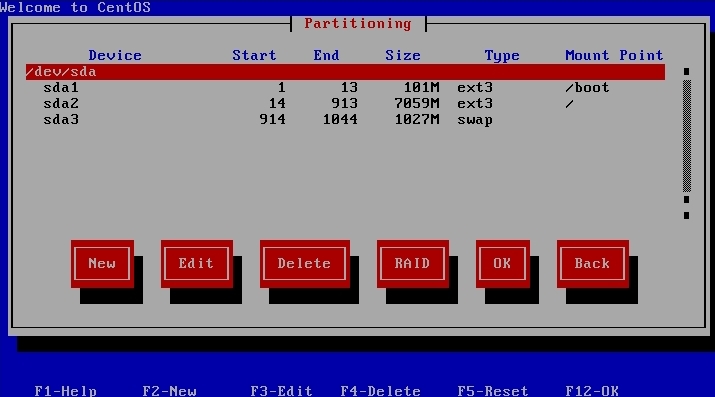
14) The final product will look like below. Click Ok to proceed
15) The system will as whether to install the Boot Loader. For me, it is recommend to install the Boot Loader due to the convenience if any case happening like forgot password.
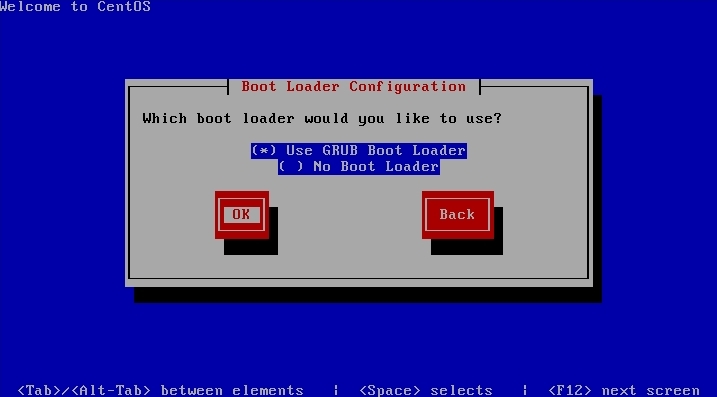
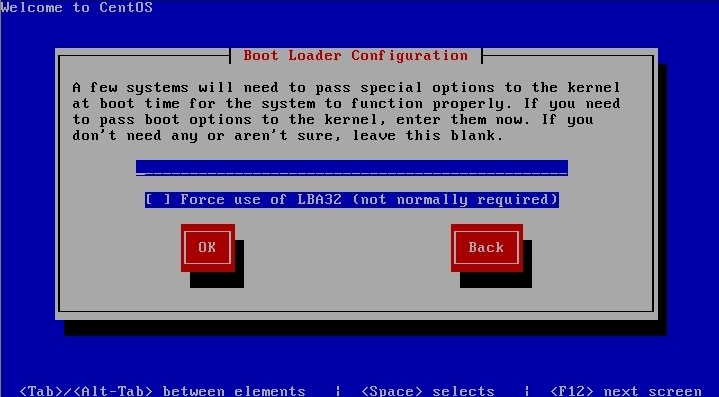
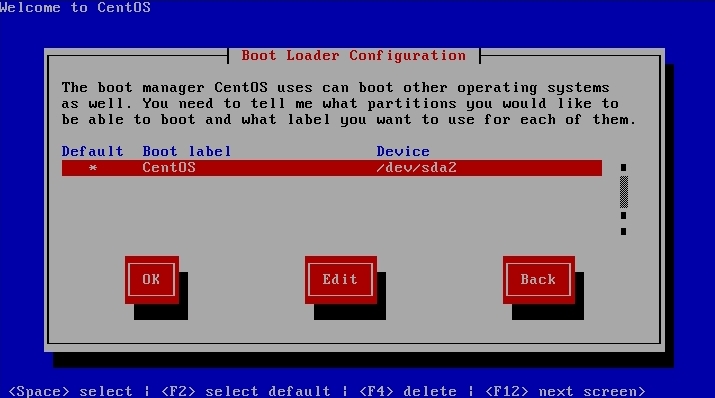
16) as for the Boot Loader Configuration, just press Ok and don’t insert anything else except know know what you are doing.
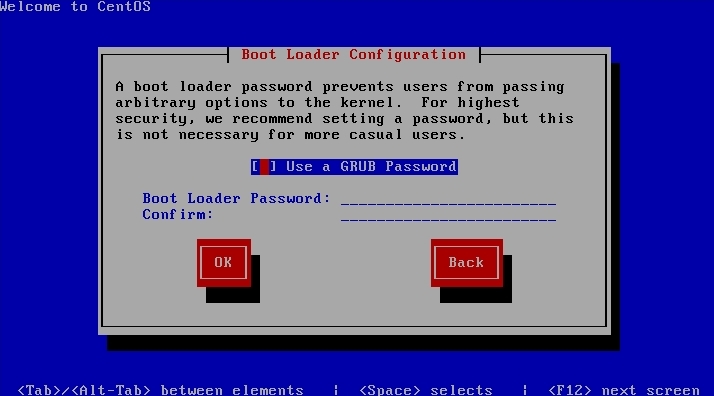
17) Then it will ask whether you want to put password for your boot loader. For safety reason, yes you may. But for unforeseen emergency cases, it is better to leave it without password
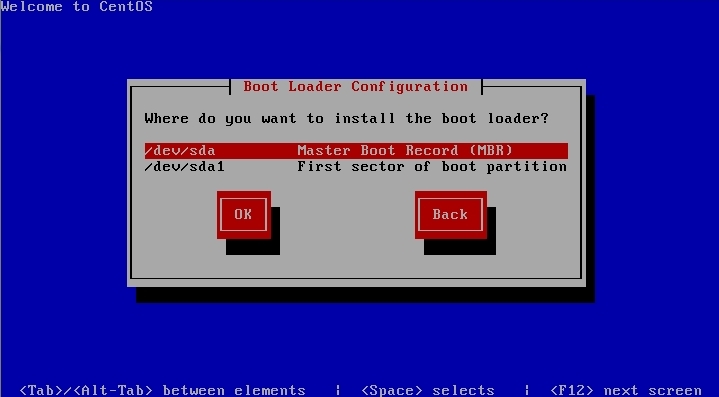
18 ) The next screen is asking which partition you want the boot loader to boot with. Just use the default option
19) Just select Master Boot Record if you don’t plan on installing multiple Operating System in your server
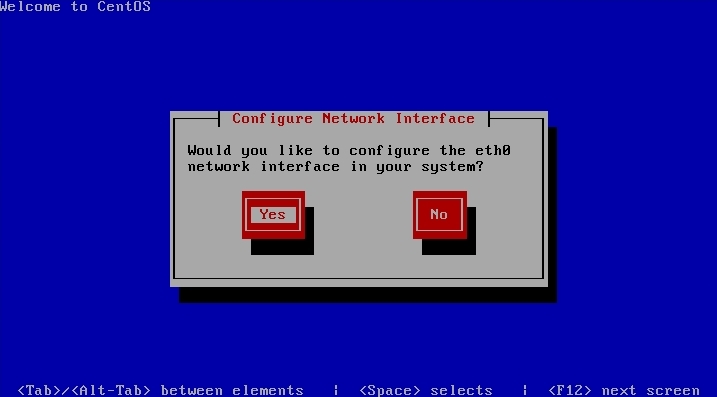
20) Next is to setup your network card
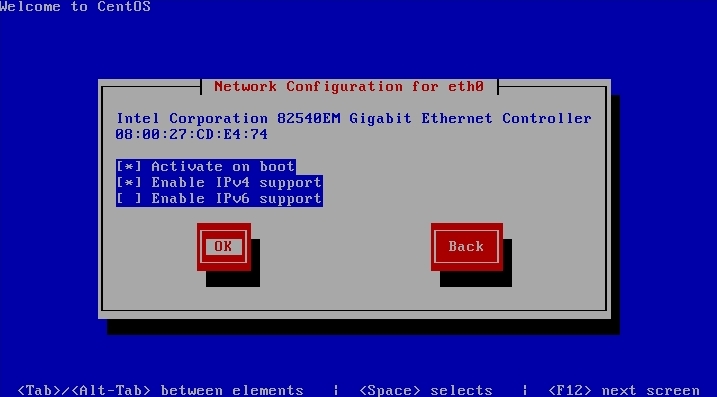
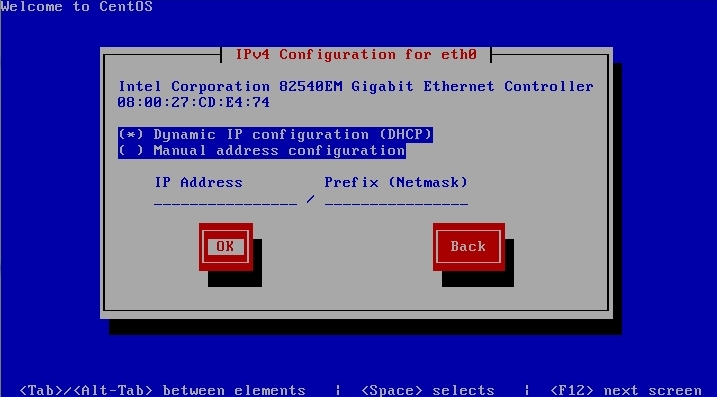
21) Select IPV4 or IPV6 (if you want to use it). Make sure to check the Activate On Boot
22) Select either you want DHCP or static IP configuration. If manual, you will have to enter the IP address, subnet mask, gateway, and the DNS
23) Set your hostname. Make sure it is in “subdomain.domain.com” format

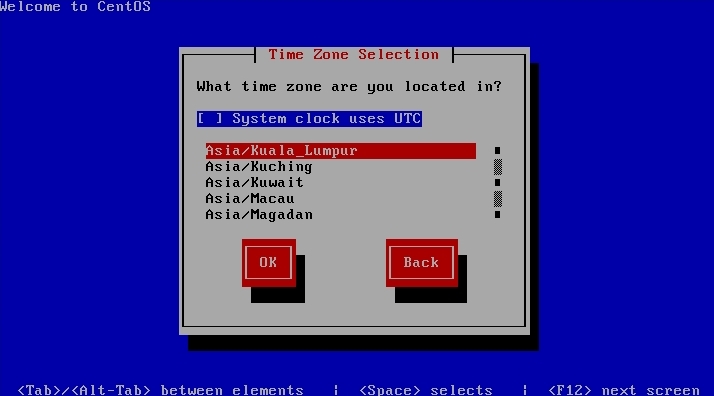
24) Select your server timezone and press Ok
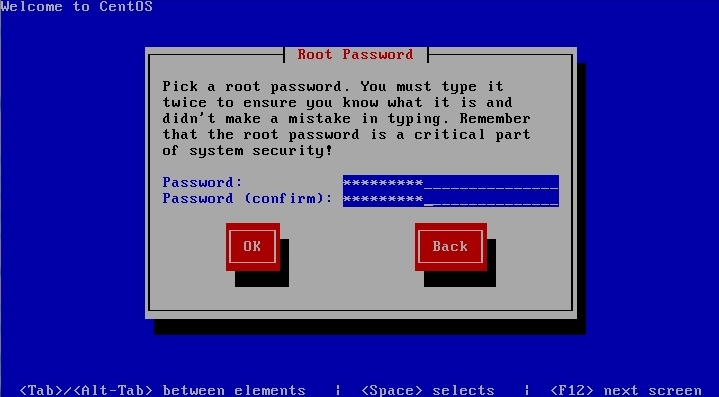
25) Next is to set your server’s root password
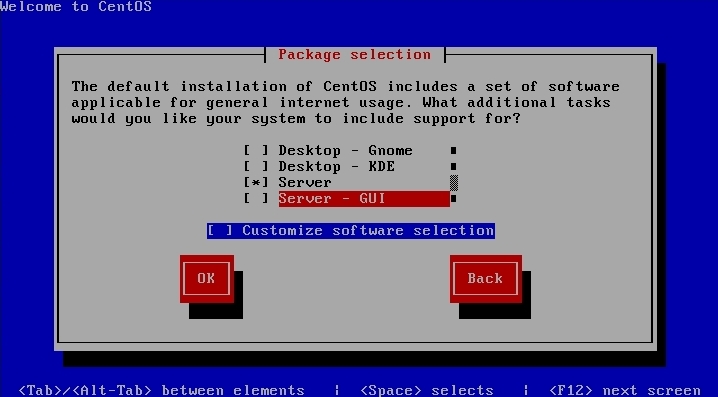
26) Here is where you can select for the package that you want to install for your system. As for me, i’ll just select the Server (i dont need any GUI) because it is suits my basic needs to run a web server
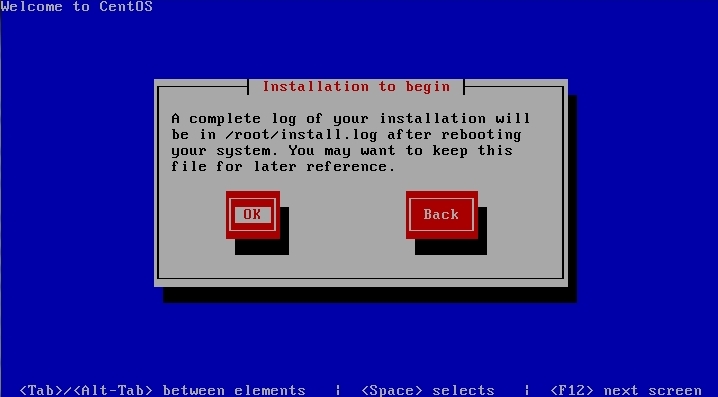
27) Just before the installation process, a notification will appear. Just press Ok to proceed, or Back if you think there are something that you might have forgotten
28) Sit back, and wait for a while till the installation finished.
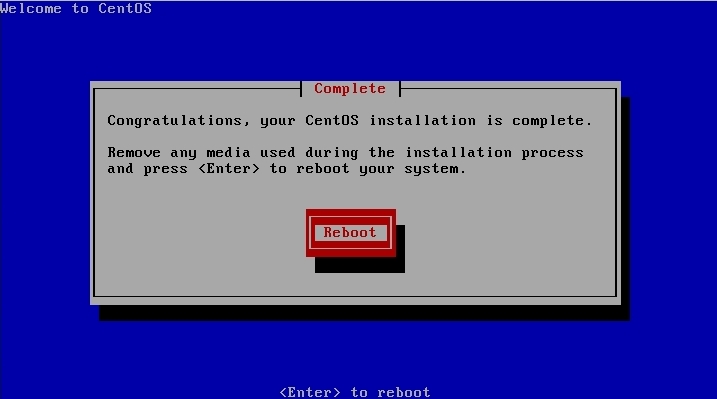
29) When finished, take out the CD, then press Reboot button. Your installation now has finished
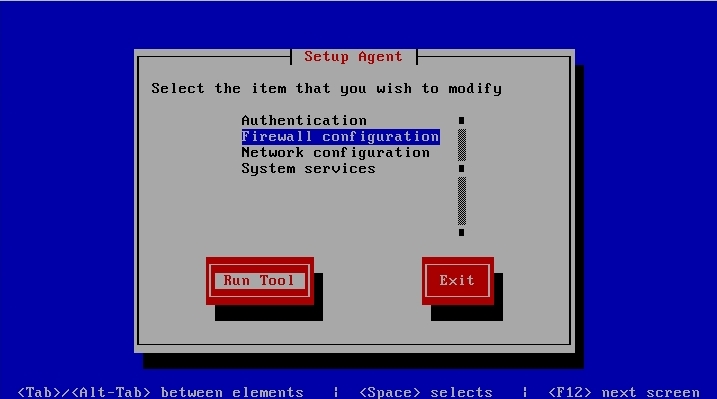
30) Just a slight reminder, during your first booting up process, this screen will appear. Just select the Firewall, and then click the Run Tool
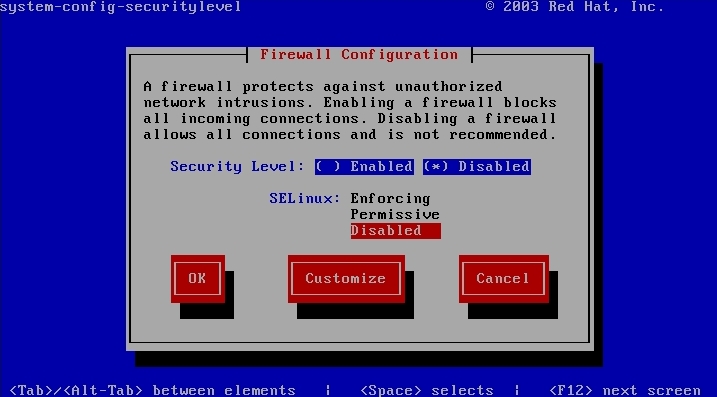
31) Just disabled both options cause this can cause trouble when you want to remotely access your server (but you can install a better 3rd party firewall later)
Finally, just wait till it loads to the login screen. Put your login and password, now you may start playing with your new server 🙂
Pingback: How to Setup Software RAID for CentOS | %home_title%